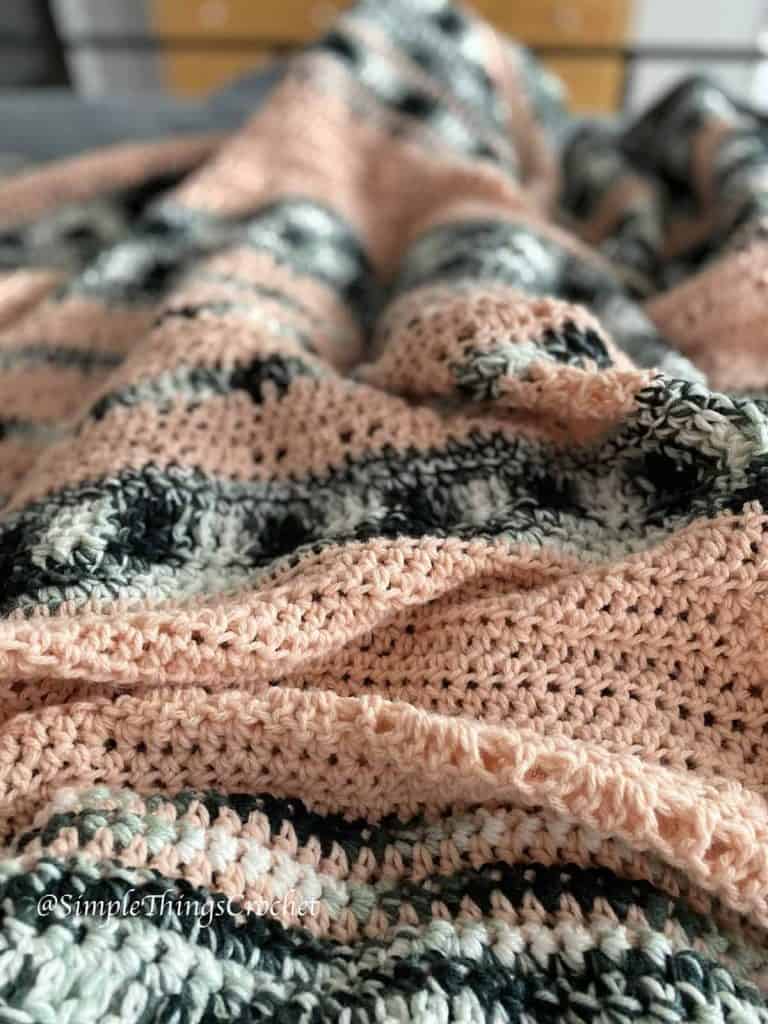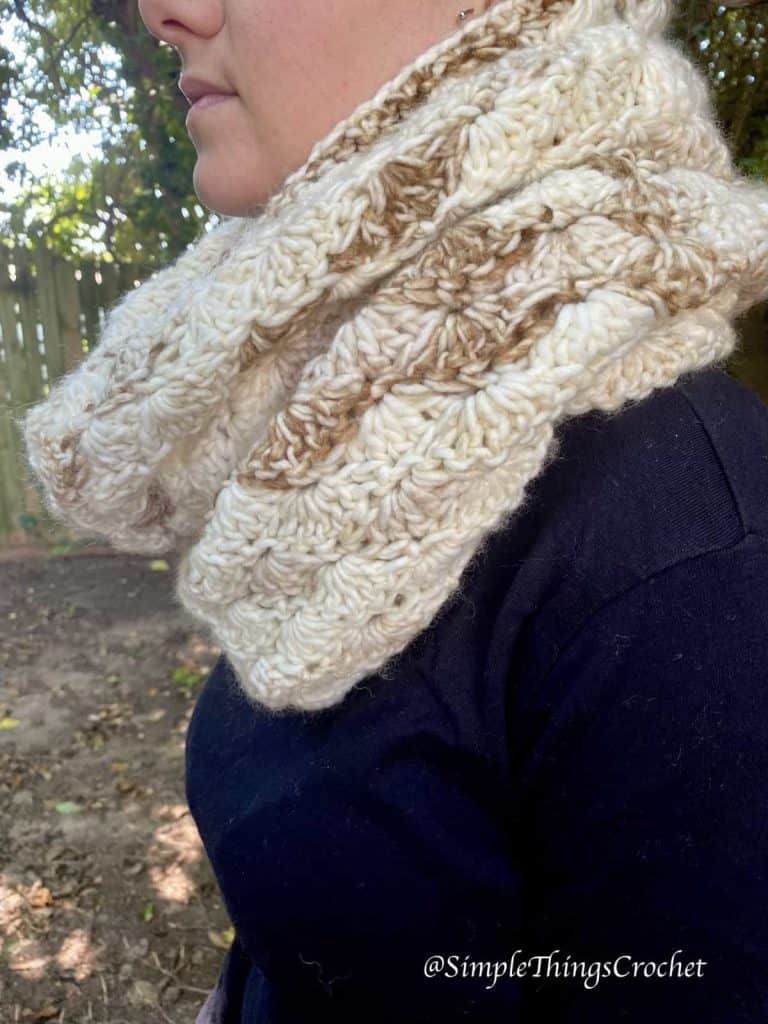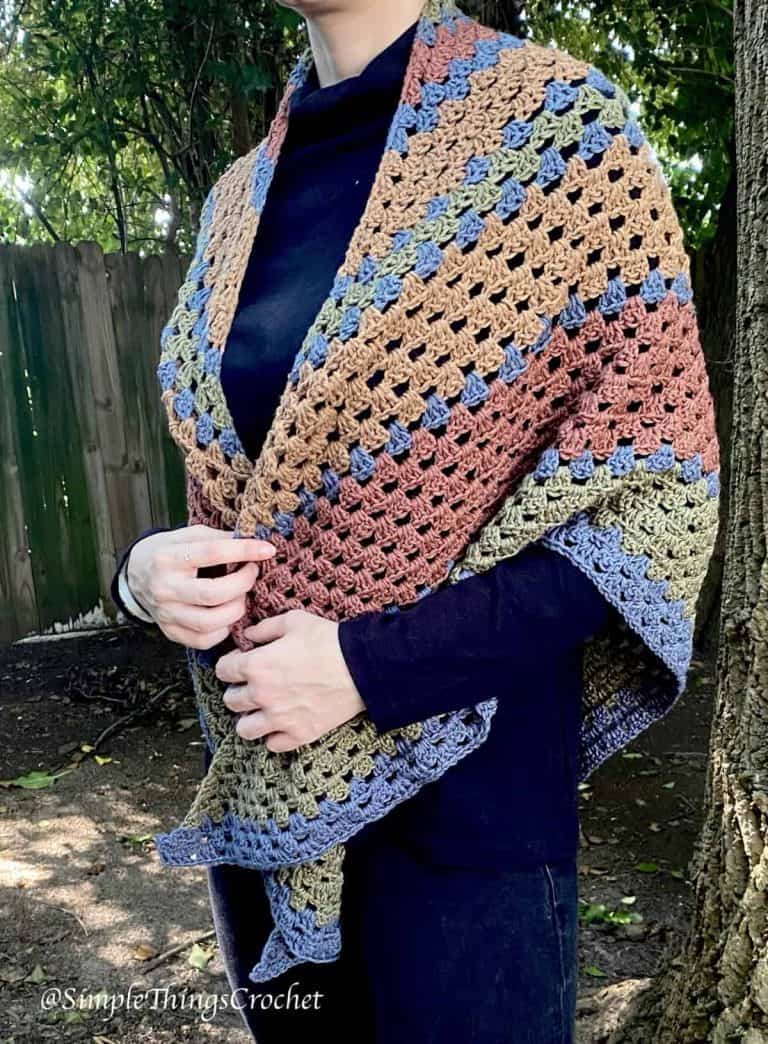

The Chloe Vest is long, light, soft, and beautiful! It’s gorgeous with the belt or without. And the open stitch makes it a great choice for warm weather. This vest is super quick and easy to crochet, and the Coboo yarn from Lion Brand doesn’t feel heavy and warm on your lap as you’re working it so it’s a relaxing piece to do at the beach or just hanging out on the deck this summer! You’ll enjoy making it as much as wearing it!!
If you’d like an ad-free, easily printable version of the pattern, you can help support my small business and purchase it for a small fee in my Etsy shop – SimpleThings byTia, or in my Ravelry Store – Simple Things Crochet.
This piece is also available as a kit on Lion Brand! With the kit, you get the pattern and all the yarn needed to create it all at once. Click here to view the kit.
Like this pattern? You may also like the Chelsea Poncho or the Easy Breezy Tunic Top. And if you’d like to receive an email whenever there’s a new post, you can find the sign-up box below. I’ll never sell your info or use it for anything else. Promise!

Skill Level: Easy
Materials:
Lion Brand Coboo in Silver – 3 skeins
Lion Brand Coboo in Pink – 2 skeins
Lion Brand Coboo in White – 1 skein
Hook size H/8 – 5.00mm
Stitch markers – optional but recommended
Gauge:
4 granny clusters and 6 rows = 4”
Dimensions:
Vest – 20” wide x 30” long (each panel is 10” wide x 60” long)
Belt – 1 1/2” wide x 58” long without fringe. Fringe is approximately 5” long.


Abbreviations:
Ch – chain
Dc – double crochet
Hdc – half double crochet
St, sts – stitch, stitches
Sk – skip
Sp – space
Notes:
- I recommend using stitch markers to easily keep your rows even. Place a stitch marker in the the first stitch of a row, and you will know where to crochet your last stitch when you get back to that end.
- You will be making two rectangles and sewing them together at the back and sides. Feel free to adjust the side seam to whatever length you like.
- The belt is optional. If you choose to make it, you just weave it through the holes of the vest at whatever row is comfortable for you.
- You can easily adjust the size but increasing or decreasing the size of the panels.

Instructions:
Vest Panels – make two.
With Silver, ch 182.
Row 1: Hdc in 2nd ch from hook and in each ch across row. 181 sts.
Row 2: Turn, ch 3, dc in first st, ch 1,* sk 3, 3 dc in next st, ch 1*. Repeat from * to * across row until you get to last st. 2 dc in last st.
Row 3: With Pink, turn, ch 4, * 3 dc in next ch 1 sp, ch 1*. Repeat from * to * across row until you get to last cluster. 1 dc in the last st.
Rows 4 – 6: With Silver, turn, ch 3, dc in first st, ch 1 *3 dc in next ch 1 sp, ch 1*. Repeat from * to * across row. 2 dc in last st. Continue with the pattern repeating rows 3 & 4 and following the color changes as indicated.
Row 7: White
Rows 8 – 13: Silver
Rows 14 – 15: White
Rows 16 – 21: Pink. Bind off and weave in ends.
Belt:
With Silver, ch 161
Row 1: Sc in 2nd ch from hook and in each ch across row. 160 sts.
Row 2: Turn, ch 2, hdc in first st and across row.
Row 3: Turn, ch 1, sc in first st and across row.
Row 4: Turn, ch 2, hdc in first st and across row.
Row 5: Turn, ch 1, sc in first st and across row. Bind off. No need to weave in the ends. You can leave them as part of the fringe.

Belt Fringe:
Cut eight 10” lengths of each color of yarn. You should have 24 pieces of yarn. Use 4 of each color on each end of the belt. So each end of the belt should have 12 strands of yarn woven through for the fringe.
To attach fringe, fold a strand in half, weave the folded end through a space, then pull the two loose ends through the loop. Pull tight. To see some detail photos of how to attach the fringe, go to the bottom of my post for the Pastel Summer Poncho.
Construction:
Sew the panels together. Lay the panels out side by side. Sew up the back approximately 24 inches.


Fold the panels over and line up the bottom edges. Sew a four inch seam up each side starting about 12 inches from the bottom. Leave 12” at the bottom for the side slit, and 11” at the top for the armhole.


Weave the belt through the holes at whatever row is comfortable for you.