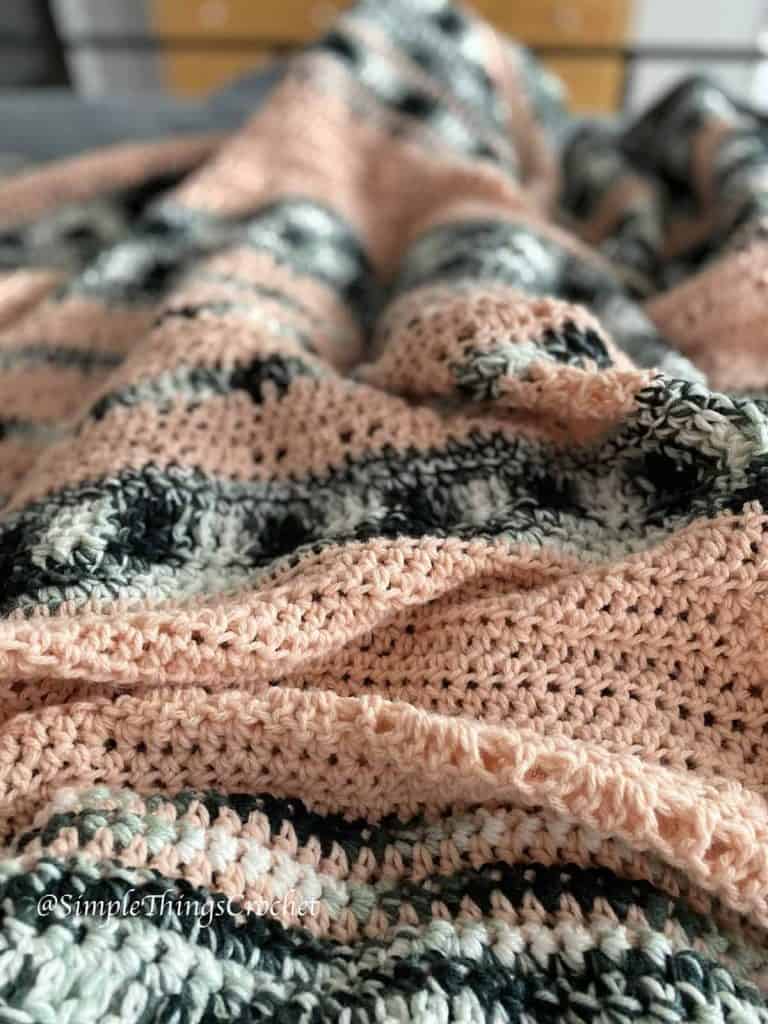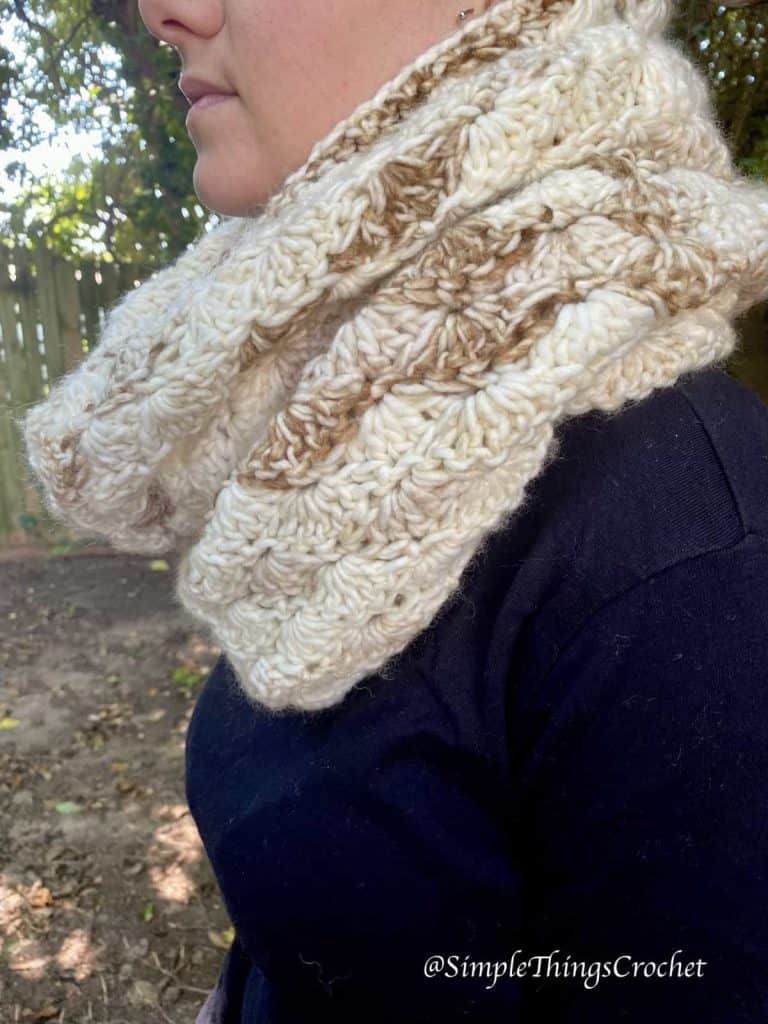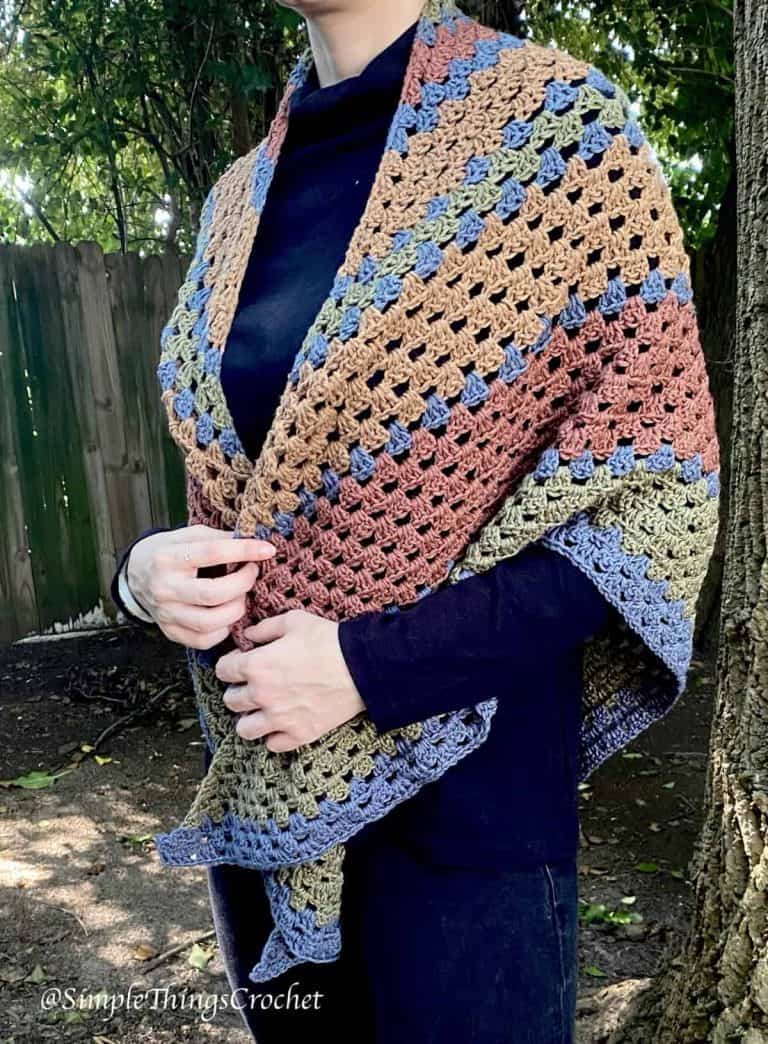

This super easy shawl may be my most favorite of anything I’ve made. I had never used ombre yarn before, so to me, it was like watching a magic trick! And this particular yarn is so lightweight yet drapey at the same time. I started at the outside of the yarn cake because I wanted the pale pink at the top. You can do it the other way around if you like. I also used a larger hook than this yarn calls for because I wanted it to be an extra loose weave. If you try the pattern, please let me know – I’d love to see it!
PLEASE NOTE!! THE EXACT YARN USED TO MAKE THIS SHAWL HAS BEEN DISCONTINUED. If you’d like a similar look, you will need to use a fine weight #2 cotton yarn. I think Red Heart It’s A Wrap Rainbow yarn in Foggy makes an excellent substitute.
If you’d like an ad-free, easily printable version of the pattern, you can help support my small business and purchase it for a small fee in my Etsy shop – SimpleThings byTia, or in my Ravelry Store – Simple Things Crochet.


Materials:
Yarn – Lion Brand Ombre Life in Cloudy Day, 2 cakes (I only used a very small amount of the second cake. I crochet very loosely so you might get away with just one.) **PLEASE NOTE – THIS YARN HAS BEEN DISCONTINUED. If you’d like a similar look, you will need to use a fine weight #2 cotton yarn. Red Heart It’s A Wrap Rainbow yarn in Foggy is an excellent substitute.
Hook – size H
Abbreviations:
ch – chain
dc – double crochet
sp – space
st(s) – stitch, stitches
Notes:
- I started at the outside of the cake with the pale pink yarn. I used the entire cake but wanted a full row of white at the end so I used a small amount of the second cake of yarn.
- I use a magic circle to begin the shawl. There are tons of tutorials online for it. If you prefer, you can ch 4 and slip stitch to join the ends of the circle. Then just work row 1 into the circle. Be aware that you will have a hole right at the top with this method.
- I only ch 2 after turning for my dc at the end of a row. This is different than the usual ch 3. I just like it better most of the time.

Instructions:
Make a magic circle to start.
Row 1: Ch 2, 2 dc in circle, ch 2, 3 dc. Tighten magic circle to close hole.
Row 2: Turn, ch 2, 2 dc in first st, ch 1, (3 dc, ch 2, 3dc) in middle of ch 2 sp, ch 1, 3 dc in last st. See photo below.

Row 2 complete.

Row 3: Turn, ch 2, 2 dc in first st, ch 1, 3 dc in next ch 1 sp, ch 1, (3dc, ch 2, 3 dc) in next ch 2 sp at top of row, ch 1, 3 dc in next ch 1 sp, ch 1, 3 dc in last st.
Repeat the pattern in row 3, doing 3 dc in every ch 1 sp, and (3dc, ch 2, 3dc) at the top of each row in the ch 2 sp until you run out of yarn. If you’d like a full row of white at the end, connect the inner white yarn from the second cake at the end of the last row, and then repeat row 3.
Tie off and weave in ends.