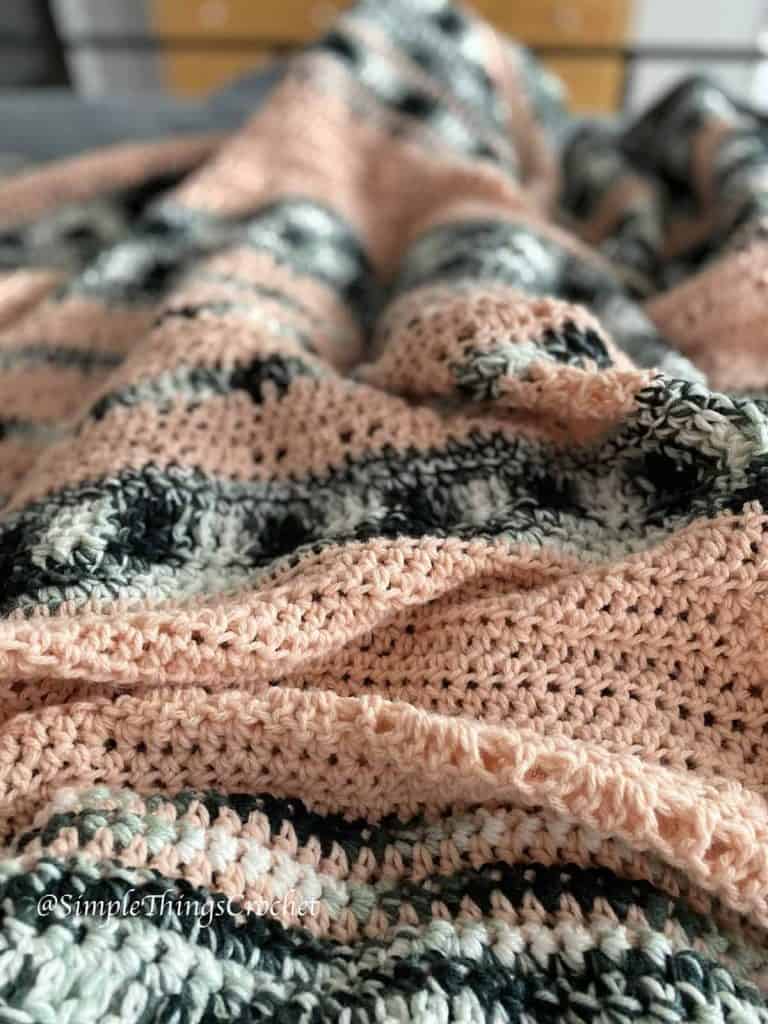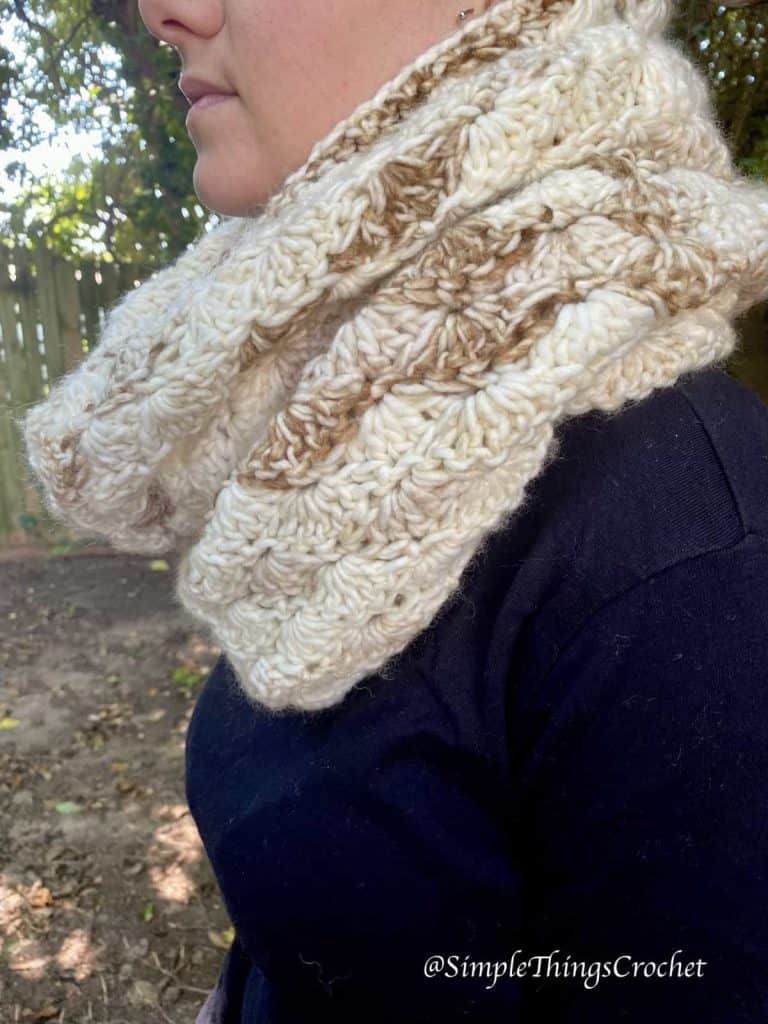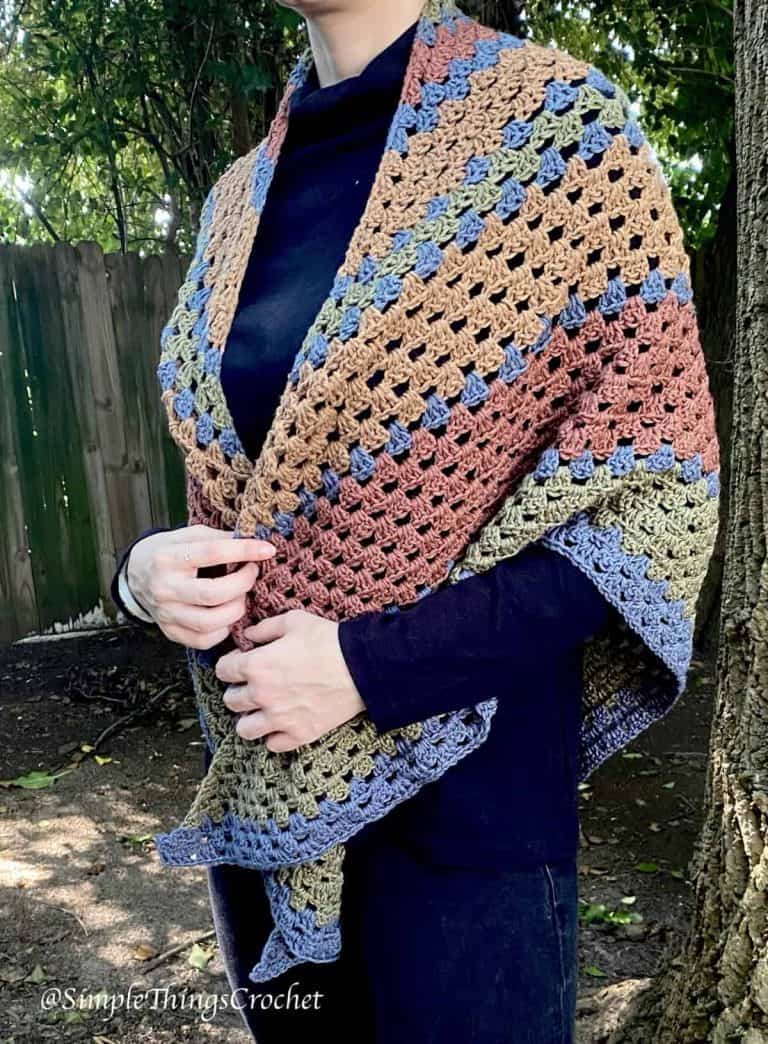

The Gemma Tunic Vest puts a new spin on the traditional granny stitch with vibrant colors and modern wraparound styling. I love the double-breasted look of this piece and the asymmetrical front just puts it over the top!

As always, I’d love to see your photos if you make this and care to share. You can find me @simplethingscrochet on Instagram and Facebook.
If you’d like an ad-free, easily printable version of the pattern, you can help support my small business and purchase it for a small fee in my Etsy shop – SimpleThings byTia, or in my Ravelry Store – Simple Things Crochet.
Like this pattern? You may also like the Chloe Vest or the Softly, Sweetly Triangle Shawl. And if you’d like to receive an email whenever there’s a new post, you can find the sign-up box in the sidebar (or below if you’re on mobile). I never sell your info or use it for anything else. Promise!
Skill Level: Easy
Materials:
Lion Brand Jeans yarn in Brand New – 4 skeins
Lion Brand Jeans Colors yarn in Bermuda Shorts– 2 skeins
Hook size I/9 – 5.5 mm
Stitch markers
Gauge:
4 clusters and 8 rows = 4”
Dimensions:
19 1/2” wide by 29 1/2” long


Abbreviations:
Ch – chain
Sc – single crochet
Dc – double crochet
Hdc – half double crochet
Sp – space
Sk – skip
St, sts – stitch, stitches
Notes:
- Beginning chains count as stitches.
- This pattern is made up of three rectangles so it’s easy to adjust for size. If you want to change the size, I recommend starting with the back panel and measuring across your shoulders to get the width you’d like. Your chain needs to be a multiple of 4 + 2. However many chains you increase your back panel by, divide it in half and increase each front panels by that amount. For example, if you increase the back panel by 10 chains, increase each front panel by 5 chains. If you need a longer belt, you can probably just increase the length of the long belt as this is the one that wraps around you.
- You will be making two belts – one short and one long. You sew the short belt to the pink panel, and the long belt to the blue panel. You will thread the long belt through the inside of the vest and around your back to meet at your side to tie with the short belt – just like a typical wraparound dress or top.
- I recommend placing a stitch marker at the top of your starting chain in each row so you know where to place your last stitch when you come back in the next row.

Instructions:
Back Panel – Make one with Brand New
Chain 70
Row 1: Sc in second ch from hook and in each ch across. 69 sts.
Row 2: Turn, ch 2, dc in first st, ch 1, sk 3, *3 dc in next st, ch 1, sk 3*, repeat from * to * across row, 2 dc in last st.
Row 3: Turn, ch 4, *3 dc in next ch 1 sp, ch 1*, repeat from * to * across row, 1 dc in last 2 dc cluster.
Row 4: Turn, ch 2, dc in first st, ch 1, *3 dc in next ch 1 sp, ch 1*, repeat from * to * across row, 2 dc in last st.
Rows 5 – 52: Repeat pattern in rows 3 and 4.
Row 53: Turn, ch 1, sc in first st and across row. Bind off and weave in ends.

Front Panels – Make two, one with Brand New and one with Bermuda
Chain 54
Row 1: Sc in second ch from hook and in each ch across. 53 sts.
Row 2: Turn, ch 2, dc in first st, ch 1, sk 3, *3 dc in next st, ch 1, sk 3*, repeat from * to * across row, 2 dc in last st.
Row 3: Turn, ch 4, *3 dc in next ch 1 sp, ch 1*, repeat from * to * across row, 1 dc in last 2 dc cluster.
Row 4: Turn, ch 2, dc in first st, ch 1, *3 dc in next ch 1 sp, ch 1*, repeat from * to * across row, 2 dc in last st.
Rows 5 – 52: Repeat pattern in rows 3 and 4.
Row 53: Turn, ch 1, sc in first st and across row. Bind off and weave in ends.

Belts – Make two with Brand New, one long and one short
Short belt – Chain 53
Row 1: Sc in 2nd ch from hook and in each ch across. 52 sts.
Row 2: Ch 2, hdc in first st and in each stitch across row.
Row 3: Ch 1, sc in first st and in each stitch across row.
Long belt – Chain 106
Row 1: Sc in 2nd ch from hook and in each ch across. 105 sts.
Row 2: Ch 2, hdc in first st and in each stitch across row.
Row 3: Ch 1, sc in first st and in each stitch across row.

Construction:
Sew the panels together.
Lay back panel out flat with right side facing up. Lay the two front panels on top with the wrong sides facing up. (You want the right sides together.) Line up the panels along the sides and top – the front panels will overlap. Sew across the shoulder seams from the outside in approximately 5” – you need to stop here so that the neckline will fall open. Starting at about 8” from the bottom on each side (you’re leaving a gap for the side slit), sew up the sides about 11”. You want to leave about 10 1/2” for the armholes.


Sew the belts to the panels.
Sew the short belt to the pink panel at the level of your natural waistline. For me, this was about 16” from the bottom at row 27. Loop one end of the belt through the gap at the edge and sew it to itself. Repeat this process sewing the long belt to the blue panel.


To wear the vest, run the long belt under the pink panel and push it through one of the gaps at your side, then wrap it around the outside of the vest across your back and meet at your other side to tie with the short belt.